
Every holiday season, driving through neighborhood streets illuminated by glowing Christmas lights is one of the most magical traditions. However, if you have ever tried to hang outdoor holiday lights yourself, you know how quickly that festive cheer can turn into frustration. Between tangled light strands, slippery ladders, exposed extension cords, and uneven lines, achieving that polished, professional look can feel out of reach.
The secret to those stunning, neighborhood-envy light displays isn't necessarily hiring an expensive commercial installation team. With a few professional installer techniques, smart tools, and strategic planning, you can transform your home's exterior into a winter wonderland. Here are 7 easy Christmas outdoor lighting hacks that will give your house a seamless, high-end display this season.
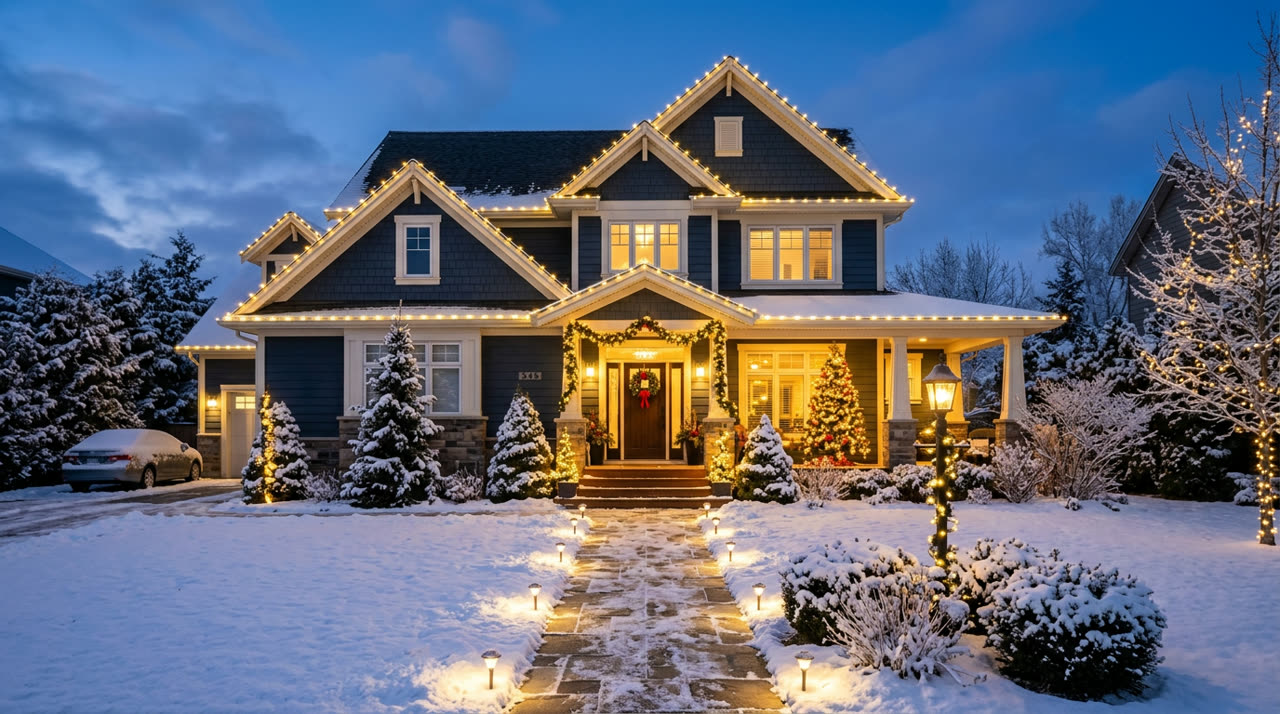
1. Measure Your Roofline and Plan Power Sourcing Before You Start
One of the biggest mistakes home decorators make is buying lights based on guesswork. Before purchasing a single strand or pulling out your ladder, take precise measurements of your rooflines, gutters, porch railings, and walkways. Knowing your exact linear footage ensures you purchase enough lights from the same manufacturing batch, avoiding awkward color mismatches or coming up short halfway through the roofline.
Equally important is mapping out your outdoor electrical power sources. Check where your outdoor Ground Fault Circuit Interrupter (GFCI) outlets are located and verify their amperage capacity. Plan cord pathways using heavy-duty, weather-resistant outdoor extension cords. Keeping your power setup calculated and hidden from view will give your display a clean, professional finish.
- Measure gutters, dormers, and peak lines with a long tape measure or laser distance tool.
- Calculate total wattage to prevent tripping your outdoor breakers.
- Choose green or black extension cords that blend naturally with landscaping and foliage.
2. Ditch Nails and Staples for All-In-One Plastic Light Clips
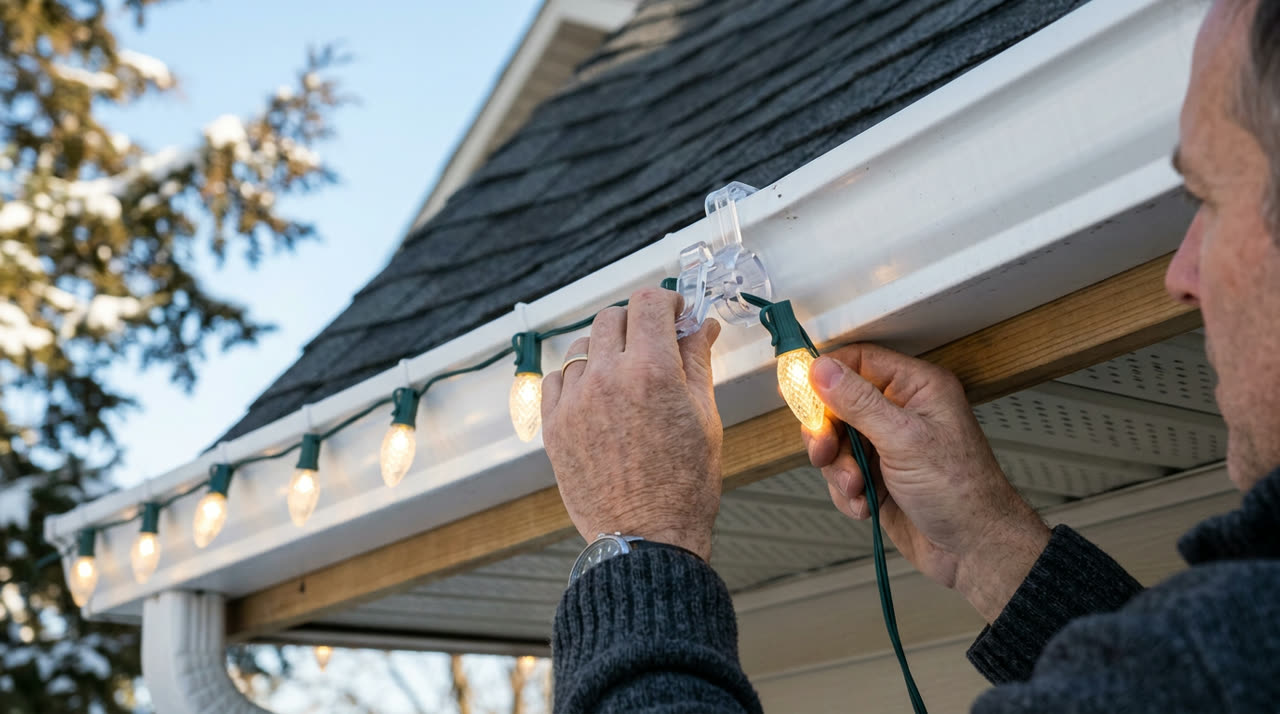
Hammering nails into fascia boards or stapling light strands directly into wood trim is a recipe for damaged wiring and permanent rot on your roof structure. Professional installers rely entirely on reusable, weather-resistant plastic light clips. These inexpensive accessories snap securely onto roof shingles, rain gutters, and porch fascia boards without causing any structural damage.
Not only do light clips protect your home, but they also keep your light strands perfectly taut and uniformly spaced. Look for universal light clips designed to hold traditional C7 and C9 bulbs, as well as mini LED strands and icicle lights. Your light lines will instantly look straight, precise, and custom-fitted.
- Opt for heavy-duty plastic clips rated for extreme freezing temperatures.
- Orient all light bulbs in the exact same direction (facing up or down) as you clip them.
- Use shingle clips for roof peaks and gutter clips along the front edges.
3. Create Crisp Edge Lines with Heavy-Duty Pathway Light Stakes
Framing your driveway, front walkways, and garden beds with glowing ground lights provides essential visual structure for your overall display. Laying string lights loosely on the grass leads to messy, uneven bulbs that are easily buried by winter snow or blown around by heavy winds.
Using rigid plastic ground stakes keeps every bulb standing upright at a uniform height along your paths. Insert the stakes firm into the ground while the weather is still mild before the ground freezes solid. Slide your light sockets into the top holder of each stake, ensuring even spacing for a crisp, tailored border that welcomes holiday guests right to your front door.
4. Master the Trunk-and-Branch Wrap Technique for Trees
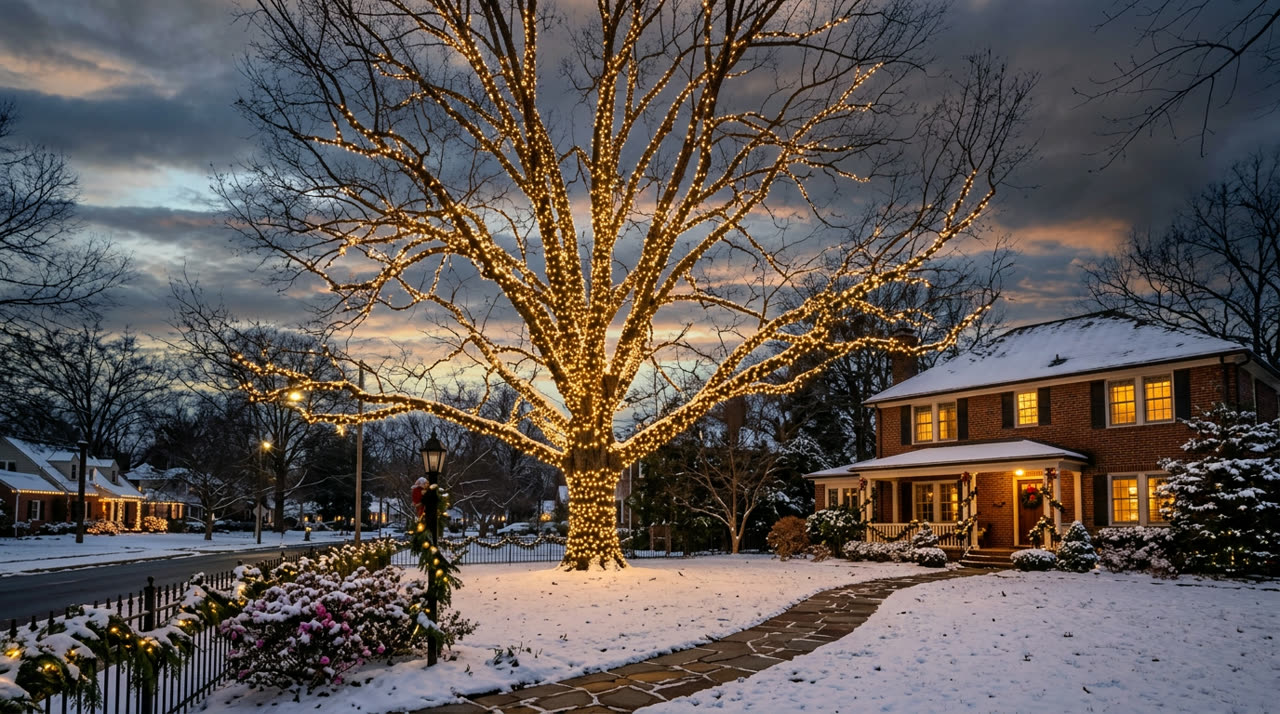
Draping lights loosely over the outer leaves or needles of mature trees often looks saggy and unkempt once darkness falls. To achieve the breathtaking, three-dimensional glow seen at luxury resorts and botanical gardens, use the trunk-and-branch wrapping technique.
Start at the base of the main tree trunk and wind your light strands tightly upward, maintaining a consistent 2-to-3-inch spacing between loops. Continue wrapping major lower branches up to two or three feet out before weaving back down to the trunk. While this method requires additional strands of lights, the structural depth and dramatic impact it creates in your front yard are well worth the effort.
- Use brown wire light strands for tree trunks and dark bark to hide cables during the daytime.
- Secure the end of each strand with zip ties or electrical tape to prevent slipping.
- Choose bright LED mini lights for high bulb density without heavy power consumption.
5. Maintain Color Temperature Consistency Across All Strands
Nothing ruins an outdoor holiday display faster than clashing white lights. If you combine 'warm white' LEDs (which emit a soft, golden yellow hue around 2700K) with 'cool white' or 'daylight' LEDs (which produce a crisp, blue-ish tone around 5000K), your home will look mismatched and disjointed.
When purchasing new outdoor light strands, stick to one continuous bulb color family across your entire front facade. If you prefer a cozy traditional aesthetic, stick exclusively to warm white. If you favor a crisp, wintery atmosphere, use cool white throughout. If you love multi-colored lights, pair them with warm accent lighting to keep the overall look balanced.
6. Automate Your Display with Smart Outdoor Timers
Walking out into freezing temperatures late at night to manually unplug your Christmas lights takes the joy out of hosting a holiday display. Investing in an outdoor-rated smart timer plug or photocell light sensor automates your entire setup effortless.
Modern Wi-Fi smart plugs allow you to set precise turn-on and shut-off schedules directly from your smartphone, adjust settings remotely, and even connect to voice assistants. Photocell sensors automatically turn your lights on at dusk and switch them off after a set number of hours. Automation saves energy, extends the lifespan of your light strands, and guarantees your home shines brightly every single evening.
7. Concentrate High Light Density Around Your Front Entryway
If you have a limited budget or restricted installation time, focus your visual impact where it matters most: your front entrance. The entry door is the natural focal point of your house, so concentrating vibrant lighting around your front porch creates maximum curb appeal.
Frame your front doorway with pre-lit evergreen garlands, place illuminated topiary trees on either side of the porch, and hang a brightly lit wreath directly on the door. By layering focal lighting, accent greenery, and warm ambient porch lights, you create an inviting, picture-perfect holiday entrance without needing to light every square inch of your roofline.
Transforming your home's exterior with a spectacular holiday light display doesn't require commercial crews or expensive contractor equipment. By measuring ahead, using non-damaging plastic clips, maintaining color consistency, and focusing light density on your key architectural entryways, you can easily create a professional-grade display that brings joy to your entire neighborhood.
Take your time setting up safely on dry days, automate your power with smart timers, and enjoy the glowing results of your hard work all season long!




0 Comments